Wednesday, April 30, 2014

Homemade Lunchable: How-To


Today, I want to show you just how easy it is to make a homemade lunchable.


Here are the ingredients, most of which I just grabbed from my refrigerator and cupboards. Ritz veggie crackers, string cheese, sliced roast beef, black olives, broccoli, blueberries, raspberries and yellow bell pepper strips.


First, put the crackers into a small section or container of a lunchbox, to ensure that they will still fresh and crisp until lunchtime. For this lunch, I used an Easy Lunchbox.


Next, pour about a 1/2 cup of raspberries and a 1/2 cup of blueberries into another compartment. What a beautiful, tasty combo!


Roast beef and cheese roll-ups. Here's the part that looks complicated, but it really isn't!
(1) Lay out 6 roast beef slices (1 serving size). Cut 1 string cheese into 3 equal pieces.
(2) Cut each string cheese piece in half lengthwise, so that you have a total of 6 pieces.
(3) Fold each roast beef slice in half. Place 1 string cheese piece at the end of a roast beef half-circle. Roll up.
(4) Secure with a food pick or toothpick. Repeat until all roast beef roll-ups are finished.


Add your veggies. I put in broccoli florets and yellow pepper strips, because that is what I had in my refrigerator. Use whatever veggies you have on hand.


My kids LOVE black olives. When they were toddlers, my mom taught them how to put an olive on each finger, and then eat the olives off of their fingers. Talk about "finger food"!
My not-so-little kids still love to do that!


However, I do not like the taste of black olives. Guess what? I didn't put them in MY lunch. Talk about personalizing the lunches. That's the beauty of homemade lunchables. You can cater to each person's individual likes and dislikes.

Grab a lunchbox or a few small containers. Look around your cupboards and refrigerator for some foods to create a balanced lunch. See what kind of homemade lunchable you can come up with!

Monday, April 28, 2014

Homemade Lunchable


On Friday, I chaperoned my daughter's class field trip to a local museum. Everyone had to bring their own lunch. I think for most people the "go-to" brown bag lunch is a store-bought Oscar Mayer Lunchable, or the healthier meal kit option by Revolution Foods. I have a problem with both of these items.

(1) Oscar Mayer Lunchable - While there are numerous choices available, they are not good for you! And though the price is relatively low for a packaged lunch, the amount of food in that "lunch" - well, let's just say that would make a great after-school snack for my kids. In my opinion, that is not enough for lunch for a elementary-schooler. So Lunchables are a no-go in our household.

(2) Revolution Foods meal kits - I have not tried them yet; however, they do look rather tasty. I believe that these meal kits cost about $3.50 each. To me, that is cost-prohibitive. Not in our household.

So, what to do? Pack pbj sandwiches that will get squished during our travels around the museum. No thanks.

How about I just pack our own lunchables in Easy Lunchboxes? Perfect! On Thursday, I will walk you through HOW I made this one. It's seriously so easy!

Thursday, April 24, 2014

List of Q Foods

Although the food options may be slightly limited, I hope that this list will spur your creativity to attempt your first "Letter Lunch".

Breads/Grains:
Quaker oats
Quinoa
Quisp cereal

Dairy:
Queso

Fruits:
Quandong (native Australian fruit)
Quark
Quetsche plum (Italian prune plum)
Quince (I've seen these at an Asian grocery store)

Meats/Protein:
Quail
Quail eggs (also at an Asian grocery store)
Quahog (clam)
Queensland nuts (macadamia nuts)

Vegetables:
Queen olives

Combos:
Quaker oats (granola)
Quesadilla
Quiche

Monday, April 21, 2014

Q Bento


Q is the letter of the day. Honestly, this was a bit of a challenge. (But nothing like 'Letter X' will be. Still working on ideas for that one.) Anyways, I crafted several Q foods into a breakfast-themed bento.

The grains portion consists of Quakers oats granola. I made my own granola, but store-bought granola is pretty tasty too! I made sure to include a small Tupperware container of milk in the lunchbox as well. Granola is pretty dry without a bit of milk.

You might think that those nuts in that green silicone cup are macadamia nuts. And you would be right. Except that they are also called Queensland nuts. Macadamia nuts are native to Australia, and one of the regions in which they grow is the northeastern state of Queensland. Hence the name.

The Quetsche plum is the featured fruit of this Q bento. It is also known as the French sugar plum or the Italian prune plum. You know what ... I couldn't find any cute, little plums by any of those names. So my kiddos got a regular ole plum in the their lunch. And they didn't know any different. And don't you tell them either! ;-)

The protein and the dairy components were combined into a Quiche bites made with Queso. I poured quiche batter mixed with cheese into mini muffin tins, baking them for less time than a full-sized quiche. Presto! Lunch-sized mini quiches.

On Thursday, I will post a list of other foods that begin with the letter Q. Perhaps that will inspire your creativity to create one as well!

Thursday, April 17, 2014

Easter Bento How-To

Today, I will walk you through how to make the Easter bento lunch that I posted on Monday. The steps are rather easy, yet numerous. Let's get started.


First, here are my ingredients in raw form: multigrain bread, black olives, cheddar cheese slices, baby spinach, freeze-dried blueberries, and potatoes. (Not pictured: red Twizzlers). The first step is to make mashed potatoes, and let them cool. If you do not know how to make mashed potatoes, try this link, or look it up in almost any cookbook.


Next, I used a cross-shaped cookie cutter to create crosses out of multigrain bread. (I use the remaining scraps of bread to make a breakfast strata or bread crumbs. No waste here.)


I patted the chilled mashed potatoes into the lower right corner of the lunch container. This symbolizes Christ's tomb.


Using a small round cookie cutter, I made an impression in the mashed potatoes.


Using the circle impression as a guideline, I carved out a hole with a spoon.


I filled the hole with black olives, to symbolize the emptiness of Christ's grave. Hallelujah!


Again, I used the small round cookie cutter to cut a circle out of multigrain bread.


The small circle of multigrain bread symbolizes the stone that the angels rolled away from the empty grave.


I packed baby spinach around the cross to represent grass; plus, it adds a great nutritional punch!


I wanted to use blueberries for the sky component, but I could not find fresh blueberries anywhere! So Trader Joe's came to the rescue with their freeze-dried blieberries. Honestly, they took some tastebuds adjustment, but ultimately, it served its purpose - both visually and nutritionally.


My handy-dandy small round cookie cutter for used once again - to cut a circle of a slice of cheddar cheese.


Using a sharp knife, I cut thin strips of cheddar cheese.


I carefully laid down several strips of cheese to create the sun's rays.


Add the cheese circle, and now there is a cheerful sun in my husband's lunch!


Finishing touches: I cut red Twizzlers on an angle and tooth picked them together to spell the word 'LIFE'. Because that is what I believe Easter is about. Before I realized that Christ loved me, I was a zombie, 'living dead'. In His never-ending, unfailing, always-and-forever love, Christ rescued me from my sins & death. I am not trying to be preachy; that is never my heart, never my intention. It's just that I am once again struck by the love that Christ, my Rescuer and Redeemer, has for me, for each and every person.


I added a pansy from our garden to tie the whole bento together. It's a beautiful, edible decoration; eat only the petals.


 Lastly, the packed bento lunch was from my husband. Not wanting the kids, who are on Spring Break, to miss out, I created this Easter-themed lunch on their plates. Easily adaptable!

Monday, April 14, 2014

Easter Bento

Happy Easter (almost)! I created this bento lunch before Easter, for two reasons.
(1) To illustrate what you could do with an Easter-themed bento
(2) To show you the steps (on Thursday!)
That way, you'll have the skills and the time to make one too!

Cookie cutters turned slices of multigrain bread into a cross and a tombstone. The baby spinach around the cross symbolizes green grass, while the edible pansy flower (eat only the petals) represents the newness of life in Springtime.

Mashed potatoes form the tomb, with black olives illustrating the emptiness of the grave.

Dried blueberries create the sky with a cheddar cheese sun shining down from above.

Red Twizzlers were cut and toothpicked together to form the word "Life", which is what Easter is really all about.

Come back on Thursday for the "How To" post!

Thursday, April 10, 2014

List of P Foods

I just love the letter P, because there is a multitude of foods that begin with it!  There are SO many options for making a Letter P lunch.

For a preschooler: create a finger food lunch of Pretzels, Provolone cheese, Pudding, Plums, Peanuts and Peas - all things relatively familiar to a young child.

For a more sophisticated bento to eat at your office, try Pappardelle Pasta with Prawns, Pattypan squash and Porcini mushrooms, with Pomegranate juice to drink.

For a picnic-style lunch: Pita chips, Provolone cheese, rolled up Pastrami, dried Pineapple bits, Prunes and Pickles. The combinations are almost endless! What will you put together?

Breads/Grains:
Pancakes
Pappardelle pasta (wide fettucine)
Pearl millet
Pita bread
Pita chips
Polenta
Popcorn
Porridge
Pretzels
Pumpernickel bread

Dairy:
Paneer cheese (Indian cheese similar to queso fresco)
Provolone cheese

Desserts:
Panne cotta (Italian cooked cream)
Pannetone (Italian sweet bread)
Pastry
Peppermint
Pizelle (traditional Italian waffle cookies)
Pop rocks
Pop Tart
Pudding

Fruits:
Papaya
Passion fruit
Peach
Persimmon
Pineapple
Plantain
Plum
Pomengranate
Prickly pear
Prune
Pummelo

Meats/Protein:
Pancetta (Italian bacon)
Pastrami
Peanut butter
Peanuts
Pecans
Perch
Pine nuts
Pinto beans
Pollock
Poached egg
Pork
Prawns
Prosciutto (thinly sliced, dry-cured ham)

Vegetables:
Palm
Parsley
Parsnip
Pattypan squash
Peas
Peppers
Pesto
Pickles
Pico de gallo
Porcini mushrooms
Potatoes
Pumpkin

Combos:
Pad Thai
Paella
Panini
Philly cheese steak sandwiches
Potstickers

Monday, April 7, 2014

A "Letter P" Bento


Let me tell you ... not only does this Letter P bento look scrumptious, it tastes delicious too! I just might have sampled some tasty morsels while I packed my kids' lunches. For quality control purposes, of course!

First, I made grilled Panini sandwiches - layers of thinly-cut Pastrami tucked in between slices of Pumpernickel bread with gooey, melty Provolone cheese oozing out of it. Yum!

Surrounding this delightful sandwich are crunchy strips of red and yellow Peppers.

In the upper left corner is a fruit salad consisting of juicy Peach slices, tasty Pineapple chunks and bright red Pomegranate seeds.

To complete this perfect P bento is a flaky, raspberry-filled Pastry.

On Thursday, I will post a list of foods beginning with the Letter P. Until then, be thinking about what kind of P lunch you would create!

Thursday, April 3, 2014

Baran Sheets

Baran is basically a decorative food separator. Personally, I think that these babies can take a lunch from 'so-so' to 'WOW!' So, let's explore the world of baran sheets.


The most typical baran is this familiar one. If you get sushi from the grocery store, you'd probably see these grassy-looking plastic papers in between your sushi rolls. Most often, this type is disposable; use once and throw away, which is why there are SO many in a package.


The grassy-look baran also comes in colored silicone, so that you can wash and reuse them.


Or cute designs on different sizes of baran.


If your child is into Hello Kitty, All Things for Sale sells them!


For the dinosaur-loving child.


And how adorable are these animals! My kids would love to see these friendly characters tucked inside their lunchbox.


Cute little stars, shamrocks, rainbows and butterflies make any day brighter.


Friendly foods make lunchtime fun!


These silicone flowers would love to adorn a little girl's lunch.


These silicone baran are super versatile. You can use them in everyday use, plus in both Spring AND Autumn-themed bentos!


Another style of silicone leaf barans. Those lettuce-looking leaves are making me hungry.


Here's a visual demonstration of how to use baran to divide your food. See how the leaves divide the veggies from the meat?


I think I mentioned these silicone cups in my Silicone Baking Cups post, but if you look closely, there are lettuce-looking baran sheets in this collection as well. Baking cups are designed to hold foods, like delicate cookies, juicy fruit or flavorful olives. Baran sheets are utilized to to make a division between foods, like between meatballs and rice, or between veggies and a hard-boiled egg.


These might be one of my favorites! It is pure bendable, safari-themed cuteness!


You can bend the grass-like baran to mold around the food in your lunch, and then attach the crocodile, hippo and rhino as fun dividers.


Well, of all of the baran we've looked through today, this one IS my favorite. It's 3D! This group of baran features baby pea pods, baby corn and cherry tomatoes. And the best part ... you can put salad dressing or veggie dip into the tomatoes. What a great idea!

Which barans did you like best? Have any of them inspired you? I'd love to hear from you. Write a comment below!


Tuesday, April 1, 2014

April Fool's Dessert

We are taking our kiddos on a fun, impromptu excursion to IKEA; kids eat free on Tuesdays. So the April Fool's Day dinner has been postponed. However, I did prank my kids at snacktime. Sitting them down, I told them that we were having brownies for snack. They were so excited!


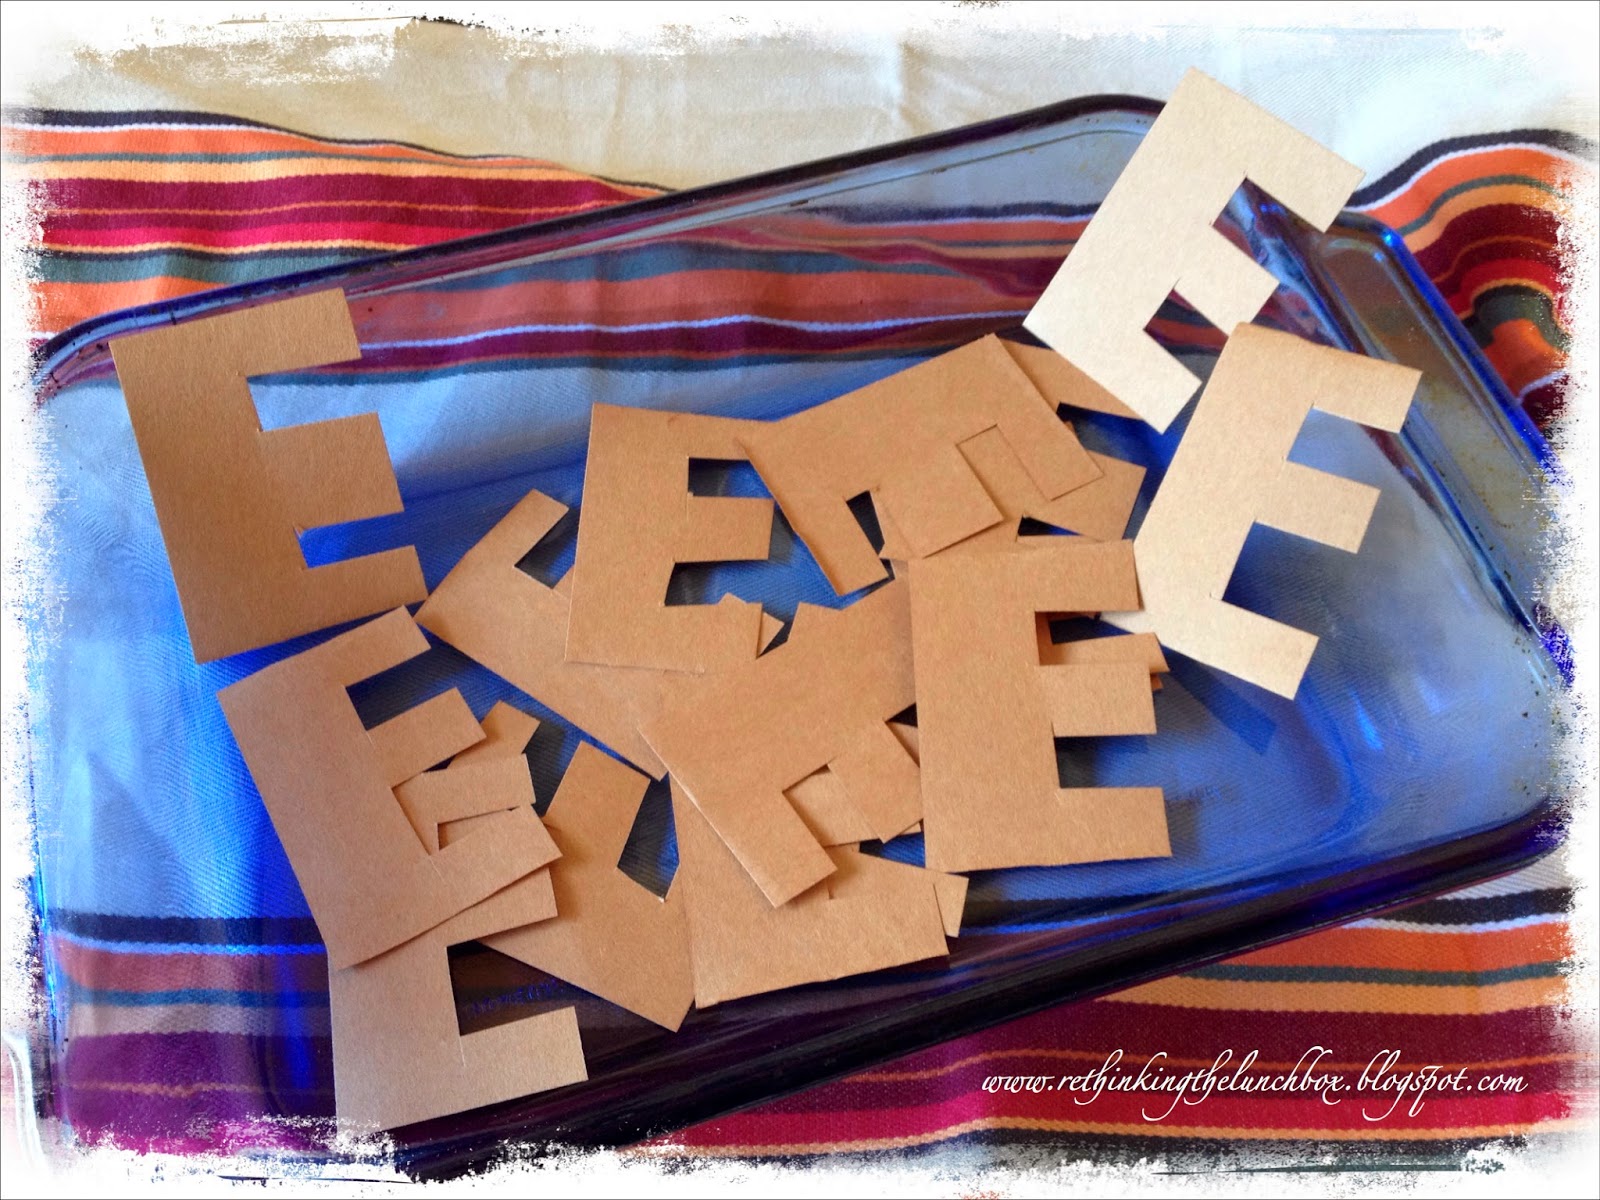
Until I uncovered the pan. Heehee! April Fool's! It took a few minutes of explaining the difference of "Brown E" and "brownie". And then we enjoyed real brownies. Yum!

April Fool's Lunch


For the kids' lunch, I created 'Asian dumplings". Except that they are far from Asian dumplings. More like peanut-butter-and-jelly half-moon sandwiches. Heehee! Here's how I made them:


First, I bought white bread (which we almost never do), in order to create the look of the dumpling wrapper.


Next, I flattened each piece of bread with a rolling pin.


See the difference? Flattened bread on the left. Regular, fluffy bread on the right.


I took a child's IKEA bowl (it's what I had on hand) and used it to cut a large circle out of the flattened bread slice.


I spread a dollop of peanut butter and a smear of homemade jam in the center of the bread circle. (Do not spread it all the way to the edges!)


Fold the circle in half, and crimp the edges with a fork. Basically, you want to seal the edges together, and the pressure from the fork pinches the bread closed.


Tada! Asian dumplings. Nope, it's PBJ sammies. April Fool's!