This is the last week of school for my kiddos - woohoo! And SuperBoy's kindergarten class is "camping in" during schooltime, complete with sleeping bags, flashlights and camping-themed activities.
In honor of his "Camp In", I created a Taste of Camping lunch.
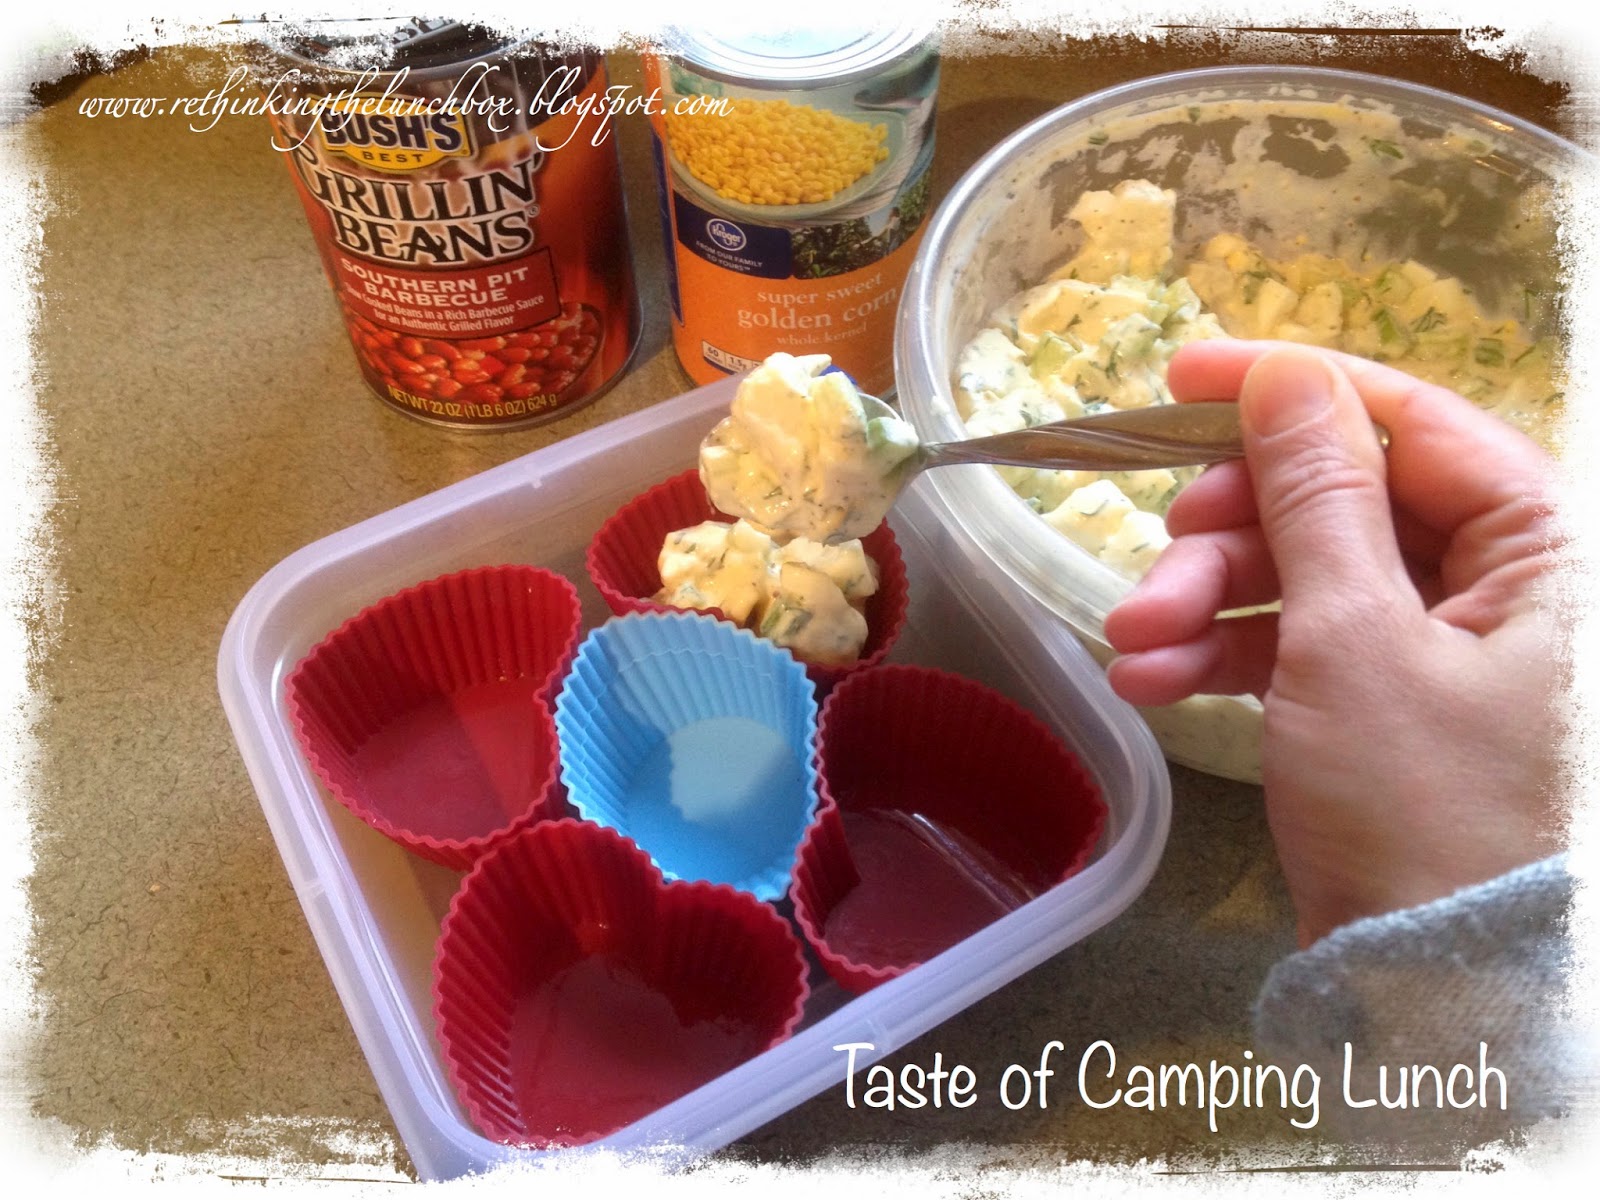
Here's what I used to make this lunch - baked beans, canned corn, potato salad, hot dogs, marshmallows, chocolate bars and graham crackers.
I placed 5
silicone baking cups into a square Lock-n-Lock container, filling one cup with potato salad.
Next, I zapped a few Jennie-O turkey hot dogs in the microwave to cook them. I sliced them into small, bite-sized chunks, and then ...
Added those hot dog bites into another baking cup.
I opened a can of corn and drained the liquid.
And spooned it into a third baking cup. I gave SuperBoy canned corn, because he lost his first tooth, making it difficult to eat corn-on-the-cob. However, LoveBug, who does have front teeth, received slices of corn-on-the-cob in her lunch.
Before adding baked beans to this Taste of Camping lunch, I drained them WELL with a slotted spoon. Baked beans are delicious (especially Bush's Grilling Beans!), but you don't want the juices to permeate the rest of the food, making your whole lunch to taste like baked beans!
After draining the baked beans, THEN I added them to the lunch.
I added a bit of delicious Heinz ketchup to
condiment containers, which are the perfect size for dipping hot dog bites.
Now comes the part that SuperBoy was MOST looking forward to ... the S'more!
Here's how to make a small S'more in the microwave. I started off by using 1 graham cracker square (snapped in half), 1 large marshmallow, and 2 pieces of Hershey's chocolate.
(1) Using scissors, I cut a large marshmallow in half lengthwise.
(2) Then, I cut each half into half again, creating 4 long pieces.
(3) I placed the chocolate squares end to end on a graham cracker half.
(4) I topped the chocolate with 2 marshmallow pieces.
(5) Then I microwaved it for about 8 seconds. (not shown)
After removing from the plate from the microwave, I carefully topped the S'more creation with the other graham cracker half, and then I let it cool for a bit.
My husband and I tried one - scrumptious!
Lastly, I cut out a few hearts out of waxed paper, placing them on top of the baked beans, potato salad and canned corn. This should better secure the contents of each heart-shaped baking cup.
This is my toothless son's lunch, hence the canned corn.
And here is my daughter's lunch, complete with corn-on-the-cob slices.
Give it a try at home. It's super easy!