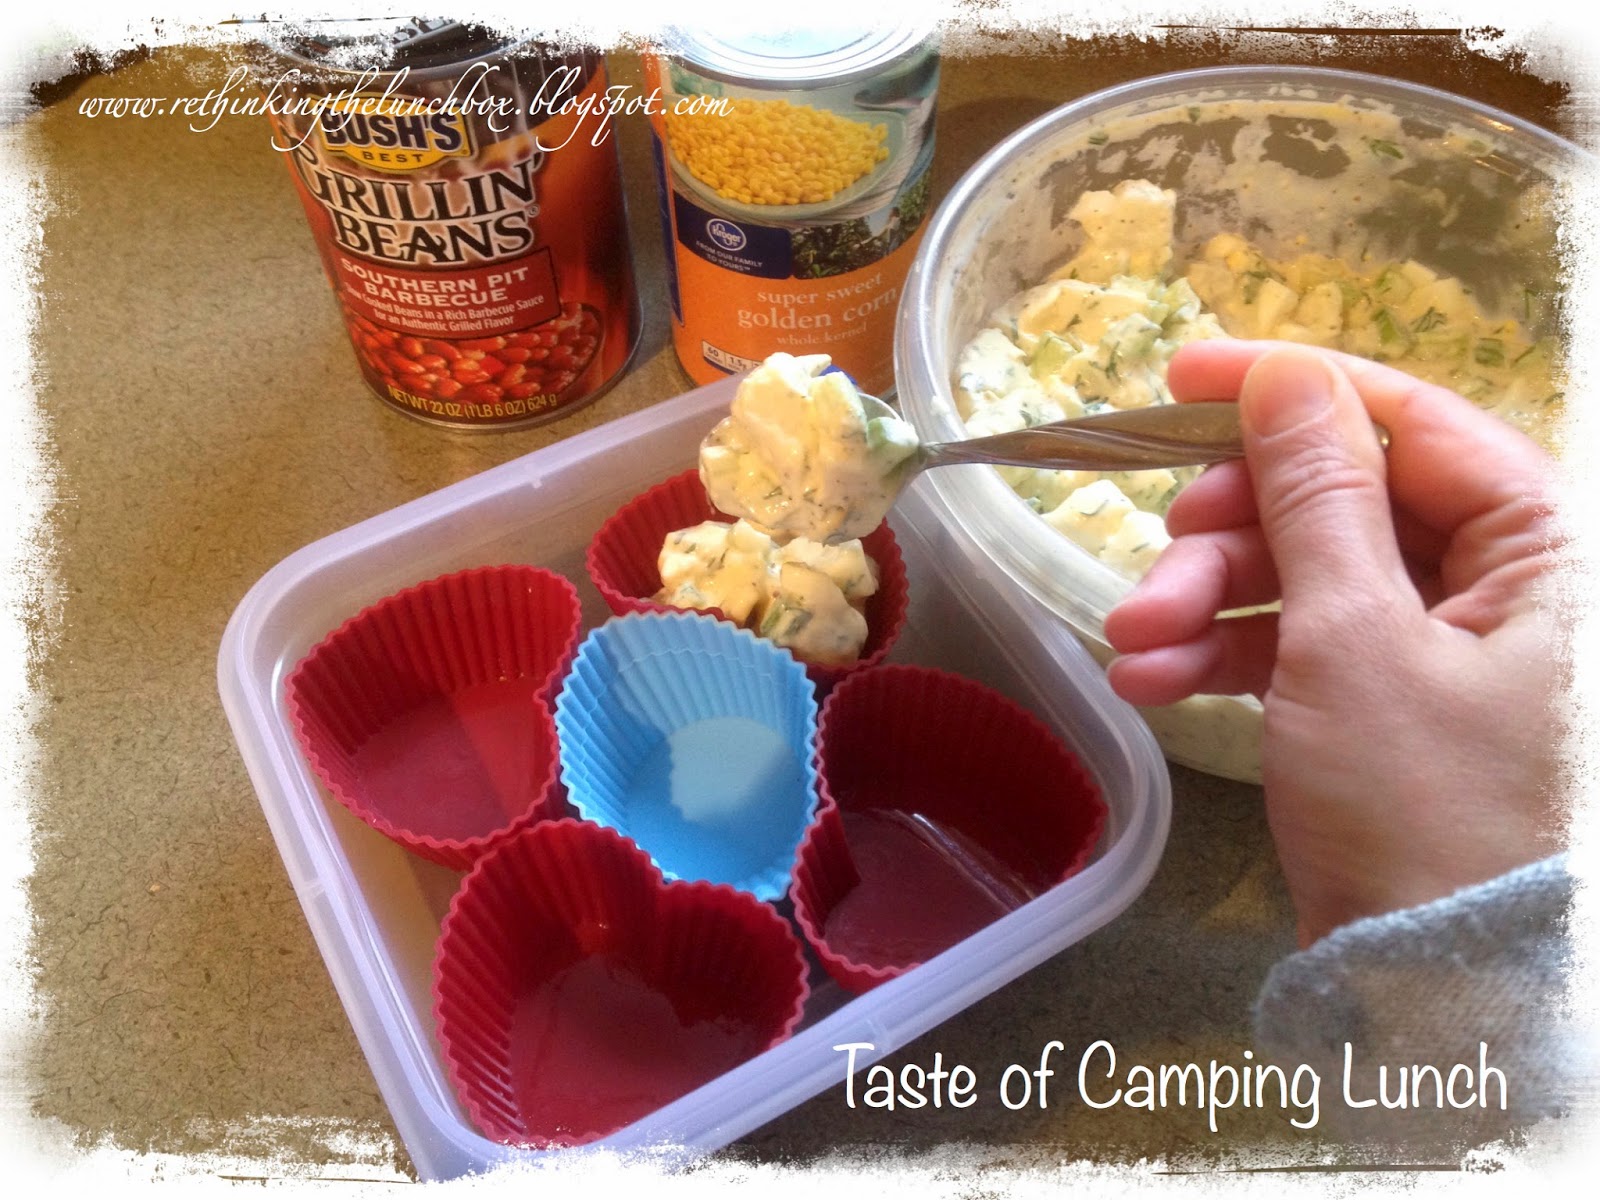
On past camping trips, we do the typical hot dogs and baked beans for dinner. Honestly? As a cook, that is NOT a challenge, nor it is particularly healthy. So let me share my meal plan for our camping weekend, plus our fails and triumphs of cooking outdoors. :)

Okay, first let me show you the view from our campsite. Having never been there before, we stumbled up on the best, most-coveted campsite in that campground. A site big enough for our tent. Freedom for our kids to run & explore together; they found 2 banana slugs that became their pets for the duration of the trip - poor slugs. Hubby and I found some great mossy trees from which to hang our hammock; once the kids were in bed, we would sit in the hammock and listen to the nearby rushing waterfall. It was just amazing.

Anyways, back to camping food: I made a meal plan, which helps to streamline camping life for several reasons.
(1) I knew exactly which items to shop for BEFORE the trip. No guessing involved. No hoping we had everything we would need.

(2) I taped my mealplan to the inside of the storage bin. That way, when mealtime came, I knew where to look for the meal ideas.
Why have I NEVER thought of these brilliant food-prep ideas until now!!

We arrived at our amazing campsite on Thursday afternoon. After setting up our tent and campsite, we were purty darn hungry for dinner! Chili Dogs & Caesar Salad. The kids grilled Jennie-O turkey hot dogs over the campfire, while I prepped the bagged Caesar salad and my husband heated up Stagg chili. Delicious!

The next morning: Cheesy Ham Eggs with Biscuits and Baked Apples. For the apples, I stacked two layers of aluminum foil and added a pat of butter and a quartered apple. Wrapping up the bundles, I placed them on the grate above the campfire, turning them every 10 minutes or so. They don't look fabulous, but the cooking brought out a terrific sweetness.
The biscuits - they didn't work. My husband tried roasting them on a stick over the campfire; the outsides were cooked, but the insides were raw. Then, I tried to cook them in double-layered aluminum foil over the campfire grate - epic disaster. Charred on the bottom, cooked in the middle, raw on the top. My best suggestions? Either bake the biscuits at home & warm them up over the fire, OR perhaps, use crescent dough. I'll let you know on next summer's camping trip. :)
The cheesy ham eggs - basically scrambled eggs with chopped ham, but here's the twist. Low-fat cream cheese melted into the eggs. Not necessarily the healthiest, but absolutely delectable!

The night before, we parbaked the tinfoil-wrapped potatoes in the campfire. Friday's dinner consisted of Isernio's Chicken-Spinach-Feta Sausage and Baked Potatoes topped with Cheesy Broccoli and Bacon. Hubby cooked the sausages and bacon in a pan on our grill, while I warmed the thawed Green Giant Broccoli in Cheese Sauce. Throwing the baked potatoes into the fire warmed them back up. Then it was time to plate: yummy sausages, alongside baked potatoes topped with cheesy broccoli and crumbled bacon.

Saturday's breakfast: DIY Breakfast Burritos! I sliced and diced veggies, while my wonderful husband scrambled eggs, cooked turkey breakfast sausage, sauteed peppers, onions, mushrooms and cubed baked potatoes from the night before. Then we put it out assembly-line-style. The kids loved being able to pick exactly what went on each of their burritos.

While it might not look like anything to be wow'ed by, it was delicious!

After a long, wonderful day at the beach, it was time for chicken fajitas. However, my plans for the chicken didn't go so well. I must have purchased a Manager's Special package of chicken (unwise move #1), and I should have frozen it so that it would stay cold longer (unwise move #2). Anyways, it smelled "off". So LoveBug and Daddy traipsed off to the amazingly well-stocked Camp Mercantile to buy a log of ground chuck. Not healthy, but it was better than getting violently sick from eating rotten chicken. :) Anyways, we sauteed up peppers and onions alongside the taco meat, plopped it all into tortillas and added cheese. Still yummy.

Last morning of camping: Bisquick Shake-n-Pour Pancakes with freshly picked Blackberries. Del Monte fruit cups. Eggs and Potatoes with Bacon. Have you ever used Bisquick Shake-N-Pour? They might not be as tasty as LoveBug's homemade pancakes, but they sure work in a pinch. As do the Del Monte fruit cups; for this trip, we brought along the fruit cups of mangoes and pineapples. Two things we realized that we needed: Frank's Red Hot sauce and salt & pepper. Oh how we missed our Frank's Red Hot during that camping trip. :)

Lastly, our lunches. We did this every camping day for lunch. Nice and easy. There is enough variation in foods that a new menu for each lunch was not deemed necessary. I tried to hit each food group in the healthiest way possible; however, we only had a cooler to keep things cold while at camp, and while we were out for the day, we had no refrigeration. So, here is what I came up with: Babybel cheese holds up for a few hours without refrigeration; plus, you can make PacMan after you unwrap it. Dried salami slices and summer sausage chunks made up our protein portion of the portable lunch. Pretzel rods and mini pretzels added grains. Lunchbox-size apples are the perfect fruit for portable lunches. Snappeas, baby carrots and celery sticks, along with hummus, gives everyone a choice of veggies for lunch. I placed all food items into ziploc-style baggies, for two reasons. (1) Baggies keeps everything separate. (2) Once lunch is eaten, the baggies compress into each other for a lighter garbage carry-out; no containers needed. Remember to "pack-in, pack-out" and "leave nothing but footprints".
Anyways, hope you enjoyed our camping food adventures. I trust that this inspired you to be more creative and healthy for your next camping trip. Let me know what you have tried or what you would like to try. I'm always open to new food ideas!