Thursday, August 28, 2014

Our Adventures with Camping Food

Normally, my blog is typically about healthy lunches. However, while my family was camping in the middle of nowhere, I realized that my desire to share about healthy eating in general, not just healthy lunches.

On past camping trips, we do the typical hot dogs and baked beans for dinner. Honestly? As a cook, that is NOT a challenge, nor it is particularly healthy. So let me share my meal plan for our camping weekend, plus our fails and triumphs of cooking outdoors. :)


Okay, first let me show you the view from our campsite. Having never been there before, we stumbled up on the best, most-coveted campsite in that campground. A site big enough for our tent. Freedom for our kids to run & explore together; they found 2 banana slugs that became their pets for the duration of the trip - poor slugs. Hubby and I found some great mossy trees from which to hang our hammock; once the kids were in bed, we would sit in the hammock and listen to the nearby rushing waterfall. It was just amazing.


Anyways, back to camping food: I made a meal plan, which helps to streamline camping life for several reasons.
(1) I knew exactly which items to shop for BEFORE the trip. No guessing involved. No hoping we had everything we would need.


(2) I packed all of the ingredients either into a cooler or into a giant storage bin. Also into the storage bin went any cooking utensils, pans, cups and dishes that we would need.
(2) I taped my mealplan to the inside of the storage bin. That way, when mealtime came, I knew where to look for the meal ideas.
Why have I NEVER thought of these brilliant food-prep ideas until now!!


We arrived at our amazing campsite on Thursday afternoon. After setting up our tent and campsite, we were purty darn hungry for dinner! Chili Dogs & Caesar Salad. The kids grilled Jennie-O turkey hot dogs over the campfire, while I prepped the bagged Caesar salad and my husband heated up Stagg chili. Delicious!


The next morning: Cheesy Ham Eggs with Biscuits and Baked Apples. For the apples, I stacked two layers of aluminum foil and added a pat of butter and a quartered apple. Wrapping up the bundles, I placed them on the grate above the campfire, turning them every 10 minutes or so. They don't look fabulous, but the cooking brought out a terrific sweetness.

The biscuits - they didn't work. My husband tried roasting them on a stick over the campfire; the outsides were cooked, but the insides were raw. Then, I tried to cook them in double-layered aluminum foil over the campfire grate - epic disaster. Charred on the bottom, cooked in the middle, raw on the top. My best suggestions? Either bake the biscuits at home & warm them up over the fire, OR perhaps, use crescent dough. I'll let you know on next summer's camping trip. :)

The cheesy ham eggs - basically scrambled eggs with chopped ham, but here's the twist. Low-fat cream cheese melted into the eggs. Not necessarily the healthiest, but absolutely delectable!


The night before, we parbaked the tinfoil-wrapped potatoes in the campfire. Friday's dinner consisted of Isernio's Chicken-Spinach-Feta Sausage and Baked Potatoes topped with Cheesy Broccoli and Bacon. Hubby cooked the sausages and bacon in a pan on our grill, while I warmed the thawed Green Giant Broccoli in Cheese Sauce. Throwing the baked potatoes into the fire warmed them back up. Then it was time to plate: yummy sausages, alongside baked potatoes topped with cheesy broccoli and crumbled bacon.


Saturday's breakfast: DIY Breakfast Burritos! I sliced and diced veggies, while my wonderful husband scrambled eggs, cooked turkey breakfast sausage, sauteed peppers, onions, mushrooms and cubed baked potatoes from the night before. Then we put it out assembly-line-style. The kids loved being able to pick exactly what went on each of their burritos.


While it might not look like anything to be wow'ed by, it was delicious!


After a long, wonderful day at the beach, it was time for chicken fajitas. However, my plans for the chicken didn't go so well. I must have purchased a Manager's Special package of chicken (unwise move #1), and I should have frozen it so that it would stay cold longer (unwise move #2). Anyways, it smelled "off". So LoveBug and Daddy traipsed off to the amazingly well-stocked Camp Mercantile to buy a log of ground chuck. Not healthy, but it was better than getting violently sick from eating rotten chicken. :) Anyways, we sauteed up peppers and onions alongside the taco meat, plopped it all into tortillas and added cheese. Still yummy.


Last morning of camping: Bisquick Shake-n-Pour Pancakes with freshly picked Blackberries. Del Monte fruit cups. Eggs and Potatoes with Bacon. Have you ever used Bisquick Shake-N-Pour? They might not be as tasty as LoveBug's homemade pancakes, but they sure work in a pinch. As do the Del Monte fruit cups; for this trip, we brought along the fruit cups of mangoes and pineapples. Two things we realized that we needed: Frank's Red Hot sauce and salt & pepper. Oh how we missed our Frank's Red Hot during that camping trip. :)


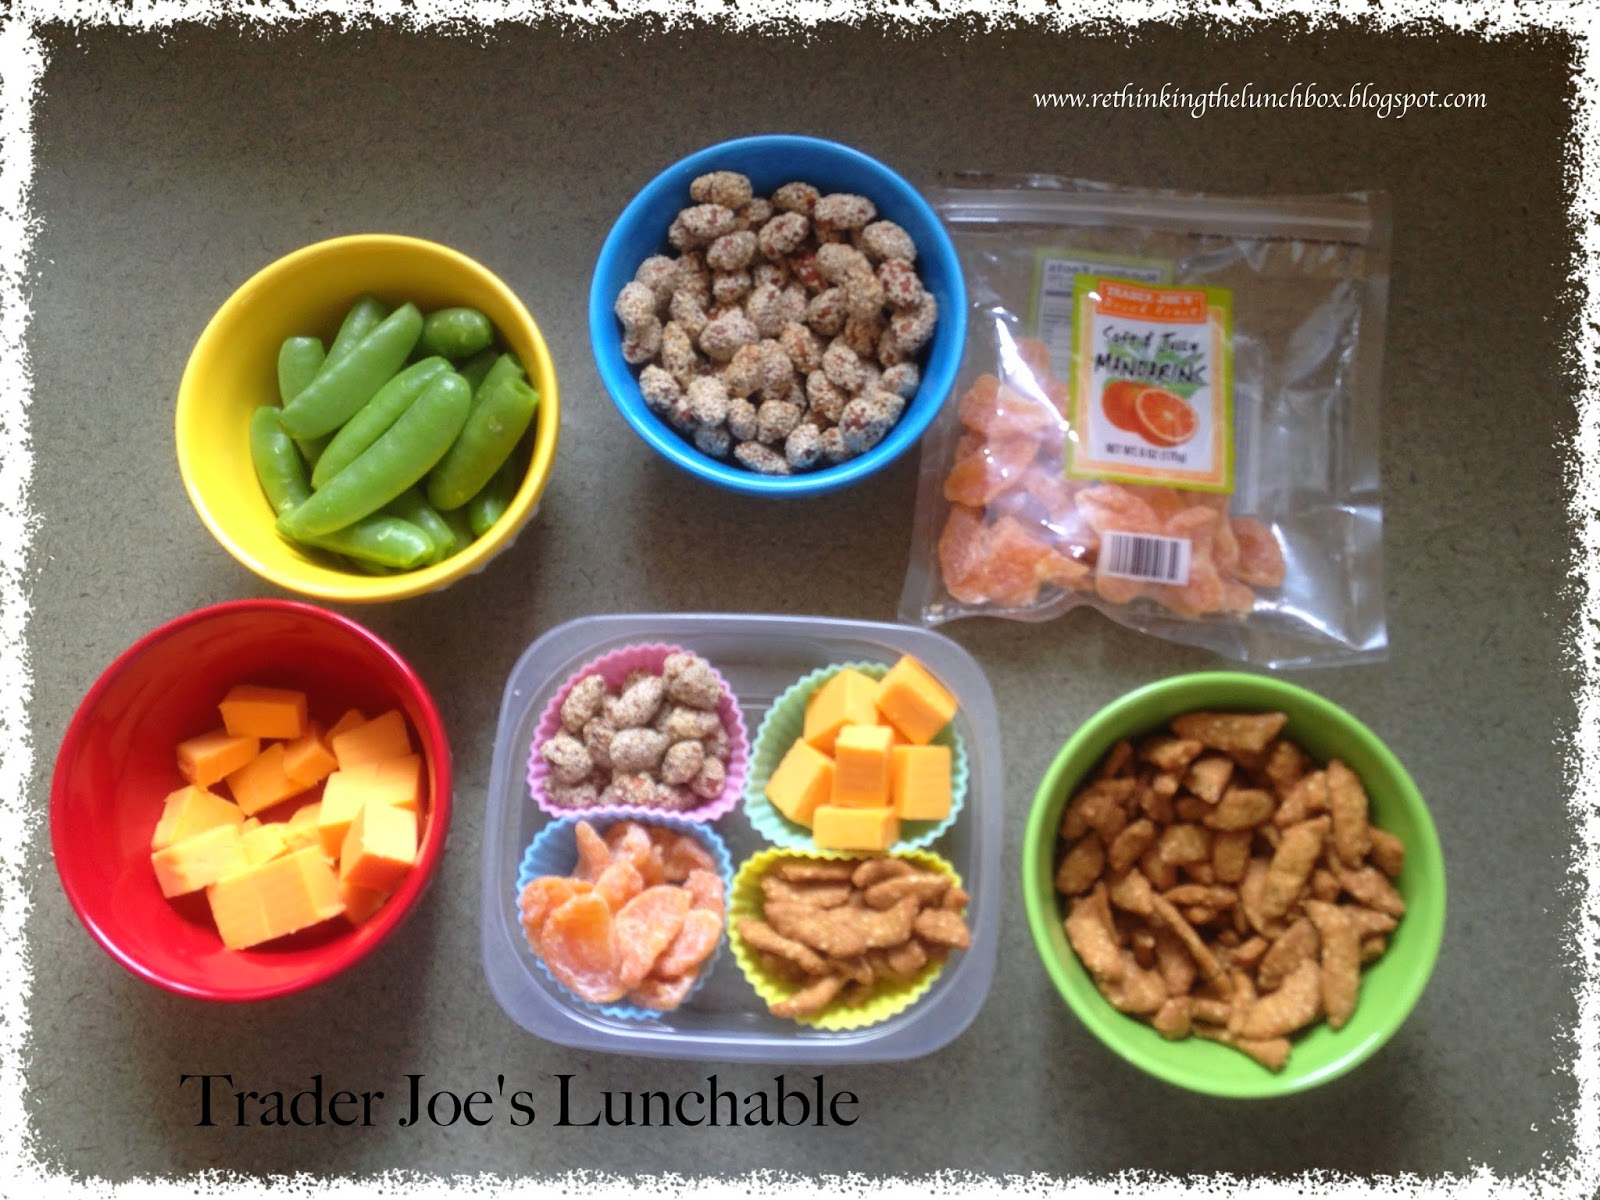
Lastly, our lunches. We did this every camping day for lunch. Nice and easy. There is enough variation in foods that a new menu for each lunch was not deemed necessary. I tried to hit each food group in the healthiest way possible; however, we only had a cooler to keep things cold while at camp, and while we were out for the day, we had no refrigeration. So, here is what I came up with: Babybel cheese holds up for a few hours without refrigeration; plus, you can make PacMan after you unwrap it. Dried salami slices and summer sausage chunks made up our protein portion of the portable lunch. Pretzel rods and mini pretzels added grains. Lunchbox-size apples are the perfect fruit for portable lunches. Snappeas, baby carrots and celery sticks, along with hummus, gives everyone a choice of veggies for lunch. I placed all food items into ziploc-style baggies, for two reasons. (1) Baggies keeps everything separate. (2) Once lunch is eaten, the baggies compress into each other for a lighter garbage carry-out; no containers needed. Remember to "pack-in, pack-out" and "leave nothing but footprints".

Anyways, hope you enjoyed our camping food adventures. I trust that this inspired you to be more creative and healthy for your next camping trip. Let me know what you have tried or what you would like to try. I'm always open to new food ideas!

Monday, August 25, 2014

Seahawks Pre-season Games!

It's preseason game time in Seattle! On Friday, the "loudest fans in the NFL" gathered to cheer on the Seahawks, and another game is coming up on Thursday. In honor of the Super Bowl XLVIII winners, I am reposting my popular Super Bowl bento lunch. Enjoy!


First, I made a bed of rice as the backdrop for the bento. Although I neglected to include it in the picture, I tucked a condiment container of soy sauce into the lunch, as flavoring for the rice. (If you put soy sauce on the rice too early, it soaks in, creating soggy, mushy rice. Adding soy sauce to the rice right before you eat it ... perfection.)

Broccoli resembles the grass of the football field, while sticks of cheddar cheese form a goal post.

The football is made from whole wheat quesadillas, cut into football shapes. I drew the 'laces' on the football quesadillas with a black food marker.

In order to create the famous "12" sign with food, I utilized blueberries as the background. Next, I cut peeled jicama into 1/2"-thick slices, and cut out the #12 with cookie cutters. (In case you weren't aware, the Seahawks consider their (loudly exuberant) fans "the 12th man" of the team, hence why there are "12" flags flying all over Seattle.)

For dessert, I added a few Skittles to honor the Seahawks' leading rusher Marshawn Lynch. Legend has it that when Marshawn was playing football as a preteen, his mama used to give him Skittles before his games. The encouragement - in the form of "power pellets" - helped him to run faster and to play his best. Well, the Seahawks fans have run with that sweet memory, turning it into a shower of Skittles every time he scores a touchdown.

Thursday, August 21, 2014

Trader Joe's Lunchable

It's back-to-school time for some; however, in our state, we've still got 2 weeks. But I decided that this lunchable is packable for school (for those who have started) or for the park (for those of us who are struggling through the last few weeks of summer).

One of my favorite stores is Trader Joe's. Not only are the employees friendly and knowledgeable, but the store is clean, well laid-out, and full of yummy things. My kids enjoying tagging along to look for the Octavia puppet (our store's mascot), which the employees hide in different places all over the store. Once they find her, the kids are given a sugar-free lollipop or a piece of fruit in exchange for Octavia's location. Today, she was on top of the mini chocolate biscotti.

In order to keep this lunchable simple, I popped into Trader Joe's to pick up a few remaining items to add to the other TJ's items I already had at home.


Here's my basic ingredients for today's lunch: Sesame Honey Almonds (protein). Extra sharp cheddar cheese (dairy). Sesame Sticks (grain). Sugar Snap Peas (veggie). Dried Mandarin Oranges (fruit).


After I trimmed the snappeas and cubed the cheese, I placed 4 silicone baking cups into a small, plastic container.


Cheese cubes go in one silicone cup. For aesthetic purposes, I made sure to NOT place the orange foods in the yellow cup. Orange and yellow would blend together too much, and I wanted to make them pop visually.


Diagonally across from the cheese, goes the other orange food - dried mandarin oranges.


Sesame sticks - my current craving - fill up another baking cup.


Sesame honey almonds, the protein component, complete the fourth cup.


Lastly, the deliciously crunchy snappeas get tucked in between the baking cups.


And voila! A Trader Joe's Lunchable that was easy, relatively affordable and involves no cooking!

Monday, August 18, 2014

Mason Jar Pasta Salad - How-To

Hey readers - so sorry that I couldn't post sooner. On Thursday, my family and I left to camp in a remote location - so remote that there was no cell tower or 3G for MILES. Twas very good to be unplugged, but unnerving when I realized that I hadn't posted as promised.
So please forgive my tardiness!


So here's how to make a Mason Jar Pasta Salad - step-by-step.


In a Mason Jar Pasta Salad, you can use any ingredients that you desire. It's quite adaptable to differing palates. Here's what I used: broccoli, whole wheat pasta, garbanzo beans, snappeas, grape tomatoes, baby carrots, green onions, mozzarella cheese, zucchini and Newman's Own Lite Caesar Dressing.

I began by prepping my ingredients. While the pasta boiled, I cut and chopped the veggies and cheese into bite-sized pieces. I blanched the broccoli florets, zucchini semi-circles and chopped baby carrots.


Next, mise-en-place - which means "everything in its place". I put my ingredients in order of layering. Remember when I told you last week that layering is a key to keeping the ingredients fresh and tasty? Well, that's what I did here. Plus, I wanted the layers of the colorful veggies to look lively.


First, I poured about 2 Tbs. of Newman's Own Lite Caesar dressing into the bottom of a quart mason jar. (This is one of my FAV salad dressings. SO much flavor!)


Colorful grape tomatoes begin to create the barrier between the salad dressing and the softer veggies, which will be added at the top of the jar.


Bite-sized snappeas top the grape tomatoes, adding a bit of crunch!


Bright orange baby carrot pieces add more color. (I blanched these pieces for 2-3 minutes to soften them up just a wee bit.)


A layer of broccoli florets add more green to this already colorful pasta salad. (I blanched these for 3-4 minutes to cut the raw broccoli taste. Be careful to not overcook!)


Garbanzo beans provide another nutritious layer, between layers of delicious, green vegetables.


Semi-circles of zucchini were blanched for 2-3 minutes, then shocked in ice cold water to stop the cooking process. After draining, these half coins were added on top of the garbanzo beans.


Chopped green onions for a flash of color and a burst of flavor.


Small cubes of mozzarella cheese formed the last layer of this delicious pasta salad.


Add the lid and screwtop, and you've got yourself a super nutritious meal once lunchtime rolls around. I simply cannot wait to make a bunch of these, and try them out all week!
I'll let you know when I do.

Plus, be on the look out for some posts about the camping meals we made this past weekend. I'll let you know what works and what didn't. :)

Saturday, August 16, 2014

No cell tower while camping!

Hey readers! So sorry for not blogging further about the Mason Jar Pasta Salads . On Thursday, my family and I left at 7am for a camping trip. We arrived at our gorgeous site, and then realized that we had NO cell tower access, not even 3G! So I couldn't post anything for you at all! I currently have a few minutes of 3G as we travel back from the beach. So I thought I'd update you as to my missing whereabouts.


Plus, look for some camping food ideas to be posted soon!

Monday, August 11, 2014

Mason Jar Pasta Salad and an Announcement!

I've been doing some reading about Mason Jar Salads. When I first discovered these layered salads on Pinterest, I thought "Seriously? A fancy-layered salad in a jar. Who has the time to make that?! I'm not Martha Stewart. I've got kids to care for and a household to run."

And then ... I read WHY the salad is layered. Here's the basic run-down:
(1) The layers begin with dressing at the bottom, followed by hearty veggies, then softer veggies, pasta, cheese, nuts & seeds.
(2) This layering process keeps the dressing away from the softer veggies (like spinach), which prevents wilted, mushy (therefore yucky-tasting) vegetables. Who wants that? Not me.
(3) Lastly, I have heard that these salads can last up to a week. That means creating lunches on Sunday for the ENTIRE week. When leaving for work in the morning, open the frig, grab the mason jar and go. Or if you're at home during the day, then lunch is already made for you; no more second-guessing a healthy lunch decision.

So I made my own Mason Jar pasta salad, and a special announcement on the side. See if you can guess what my announcement is ...


Pasta salad layered in an Avent baby bottle? Yup, we are pregnant! Due February 5th.

And by the way, come back on Thursday to view my step-by-step pics and instructions of how to craft a Mason Jar Pasta Salad in a Ball Canning jar. Super easy. Very healthy and adaptable. And I think it might become a regular occurrence in our home. :)

Friday, August 8, 2014

Hammock Lunch How-To

On Monday, I posted A Relaxing Hammock Lunch. Today, I want to show you how the steps to make this lunch yourself!

Here are the ingredients that I used - Near East couscous, Twizzlers Pull-n-Peel, a peach, snappeas and whole almonds.


Next, I prepared each individual food, making lunch assembly much easier. Cooked the couscous according to the directions on the box. Pulled apart the Pull-n-Peel Twizzlers. Carefully sliced large rounds of the juicy peach. Trimmed the ends off of the snappeas. (Disregard the blueberries in this picture; I was going to use them to create an ocean-look over the couscous beach. However, it didn't look great, so I ended up not using them.)


Once all of the individual components had been prepped, I spooned the fluffy couscous onto the bottom third of the plate, taking the shape of the beach.


Next, whole almonds form the palm tree trunks.


Fresh snappeas spring forth from the almond trunks, creating edible palm tree fronds.


Cutting a slice of peach to form a hammock-shape, I placed it in between the palm trees.


Lastly, a Twizzler Pull-n-Peel strand hangs the hammock between the palm trees.


How easy was that?! Let me know if you give it a try. Even better, send me a picture!


Monday, August 4, 2014

A Relaxing Hammock Lunch


Today, I've made for you a basic lunch on a plate, not in a bento box. Just like people enjoy relaxing in a hammock, lunches too enjoy the occasional sprawling out onto a plate. :)


Comprised of a Twizzler Pull-n-Peel strand, crunchy snappeas, whole almonds, juicy peach slices and fluffy, Near East couscous, this delicious lunch is sure to delight the tastebuds.

Tune in on Thursday to see my step-by-step photos and instructions on how to make it!